
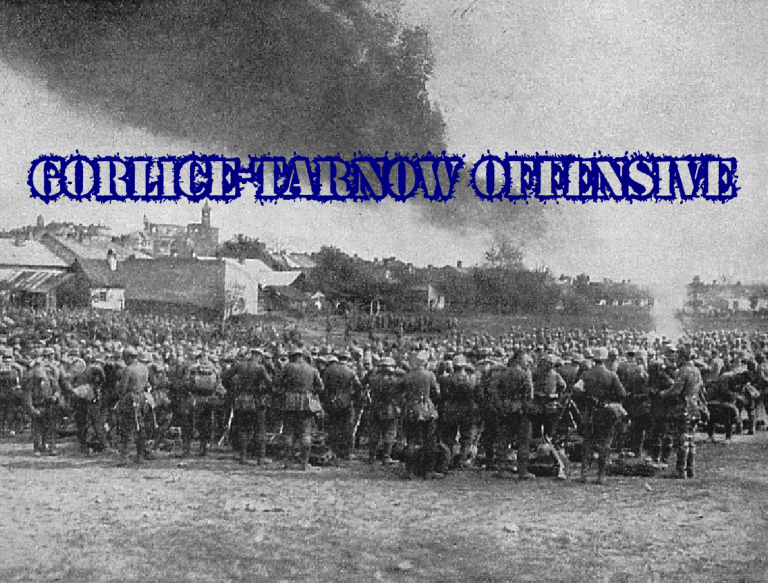
Gorlice-Tarnów Offensive: An Overview The Gorlice and Tarnów areas were important in WWI, as was much...
WWI History
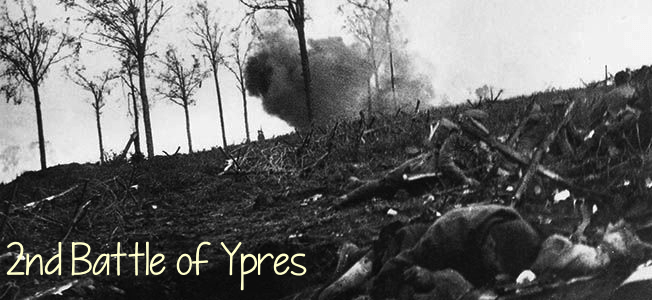
2nd Battle of Ypres On April 22, 1915, the German 4th Army mounted a surprise attack against...
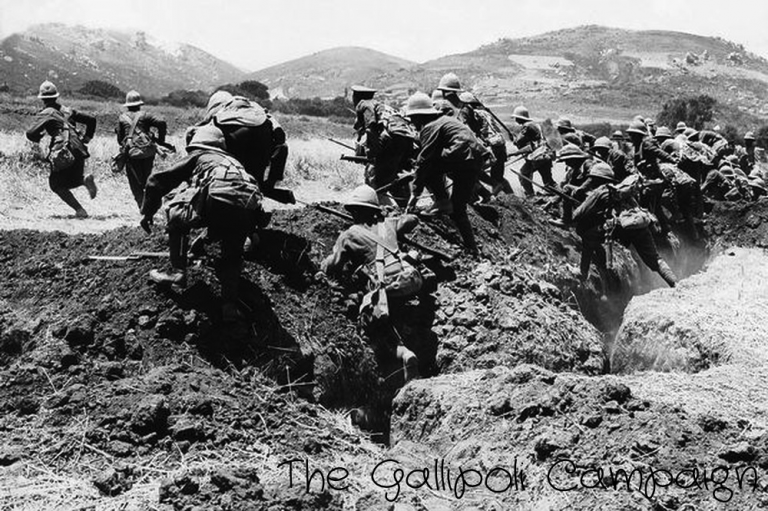
The Gallipoli Campaign The Gallipoli Campaign started as one might expect a new campaign to start,...
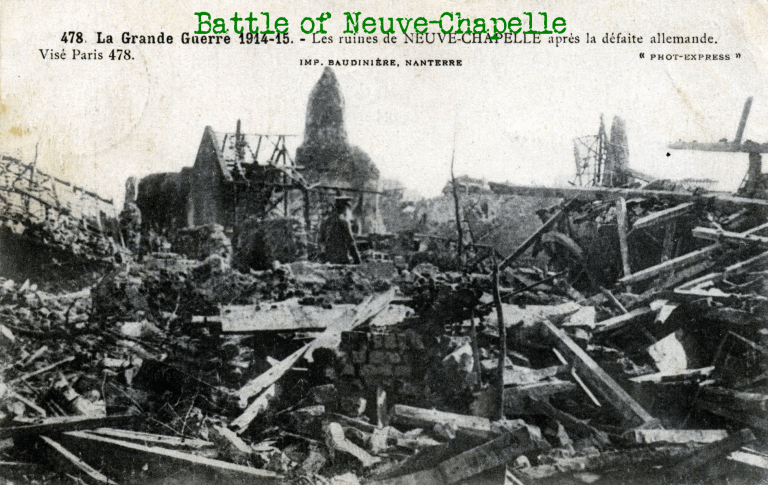
The Battle of Neuve-Chapelle The first major battle of 1915, the battle of Neuve-Chapelle was fought from...
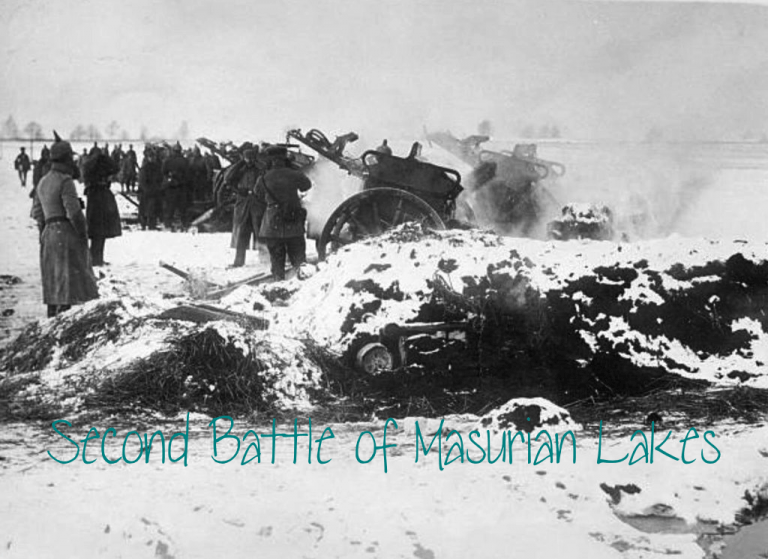
Second Battle of Masurian Lakes Another very short post, but it is the second of two battles....
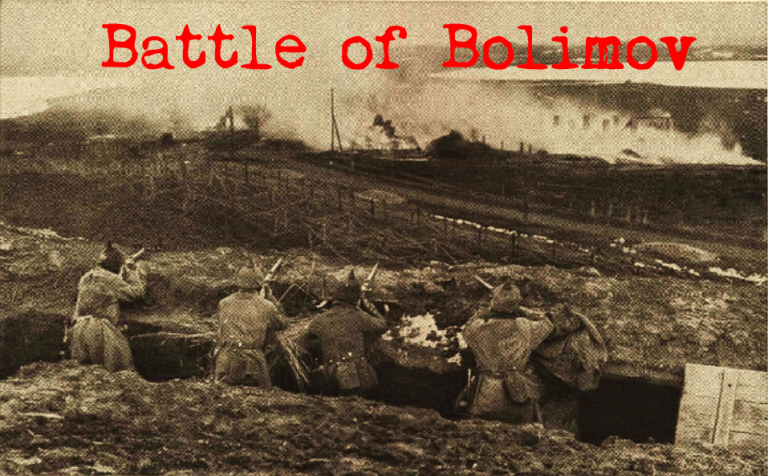
Battle of Bolimov Fought between the German Ninth Army led by August von Mackensen and...

Battle of Dogger Bank After their success at Scarborough back in December, German Admiral Franz von...

Debacle at Sarikamish When the Ottoman empire joined the Central Powers, it was mostly with the hopes...
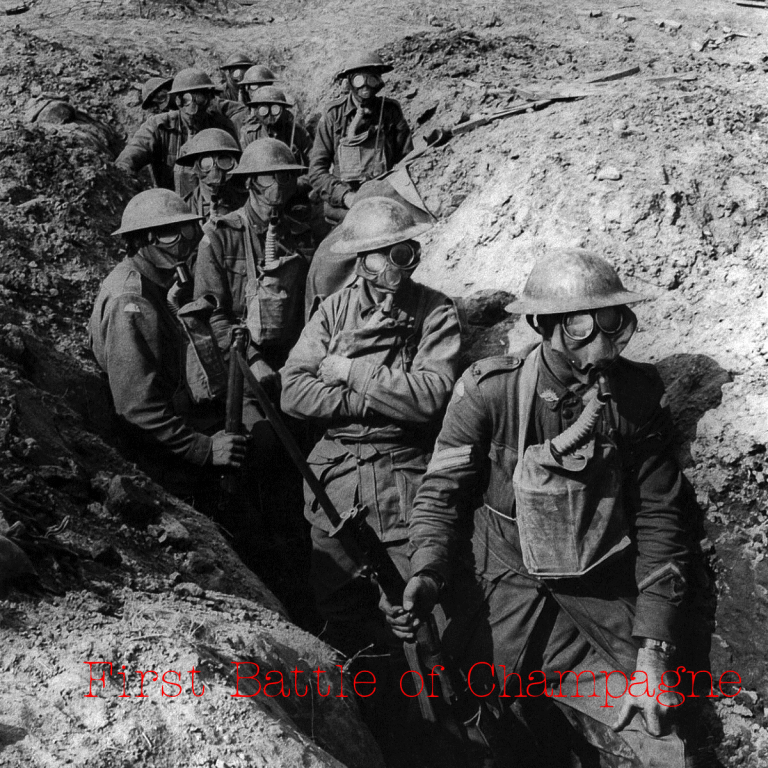
First Battle of Champagne The first Battle of Champagne began on December 20, 1914. This was “effectively...
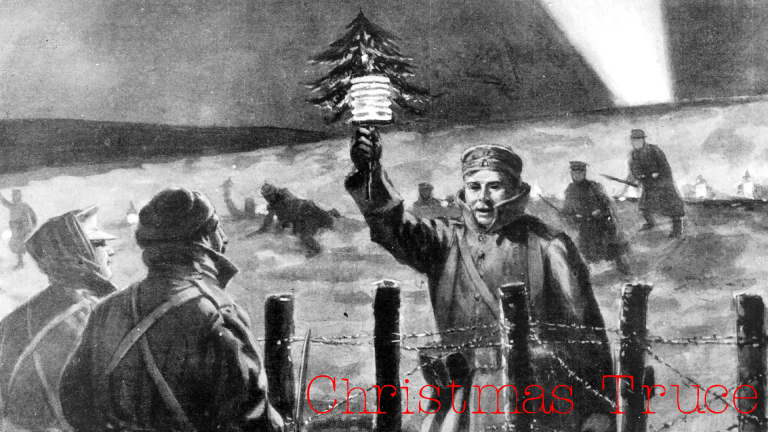
Christmas Truce A short and kinda rough post. But it’s such a sweet, hopeful story....